Spring 2019
Plants and Birds
Much is growing this spring.
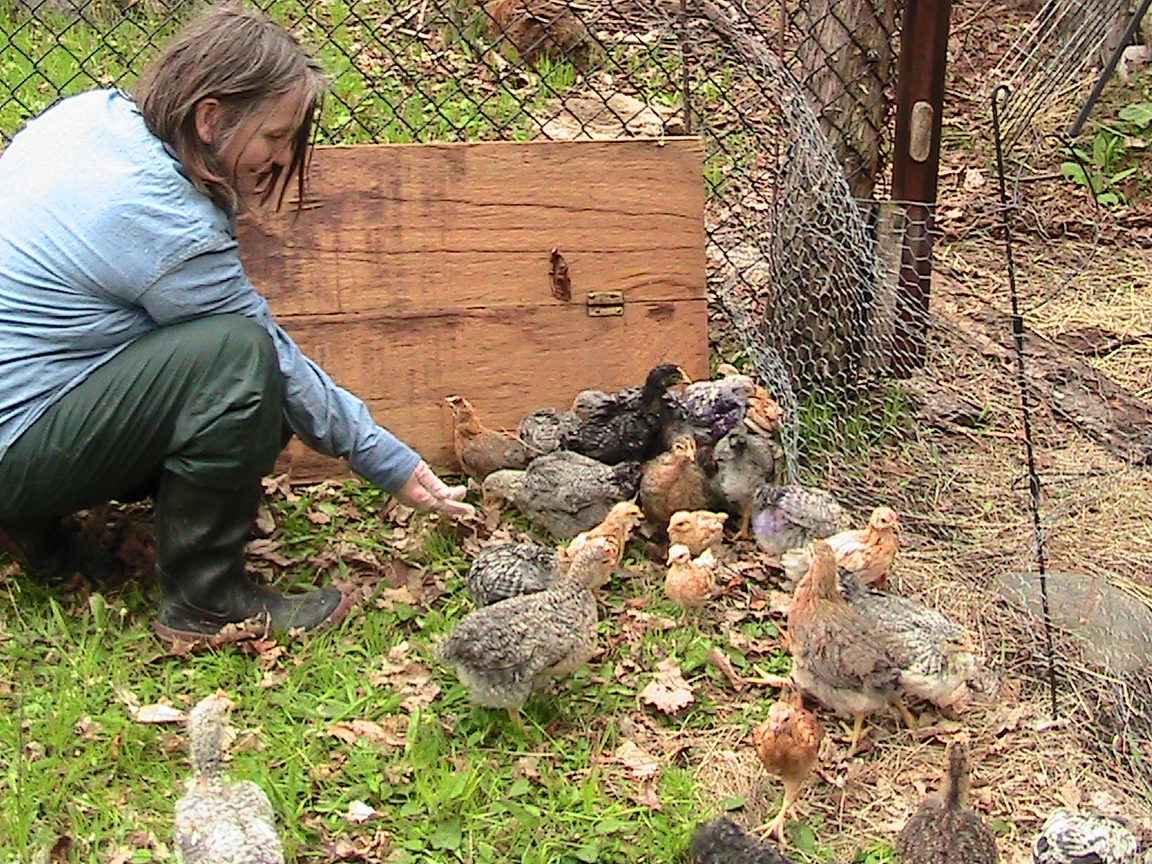
I'll start with the chickens, particularly because the little ones are so cute.

They grow fast.
These just in !
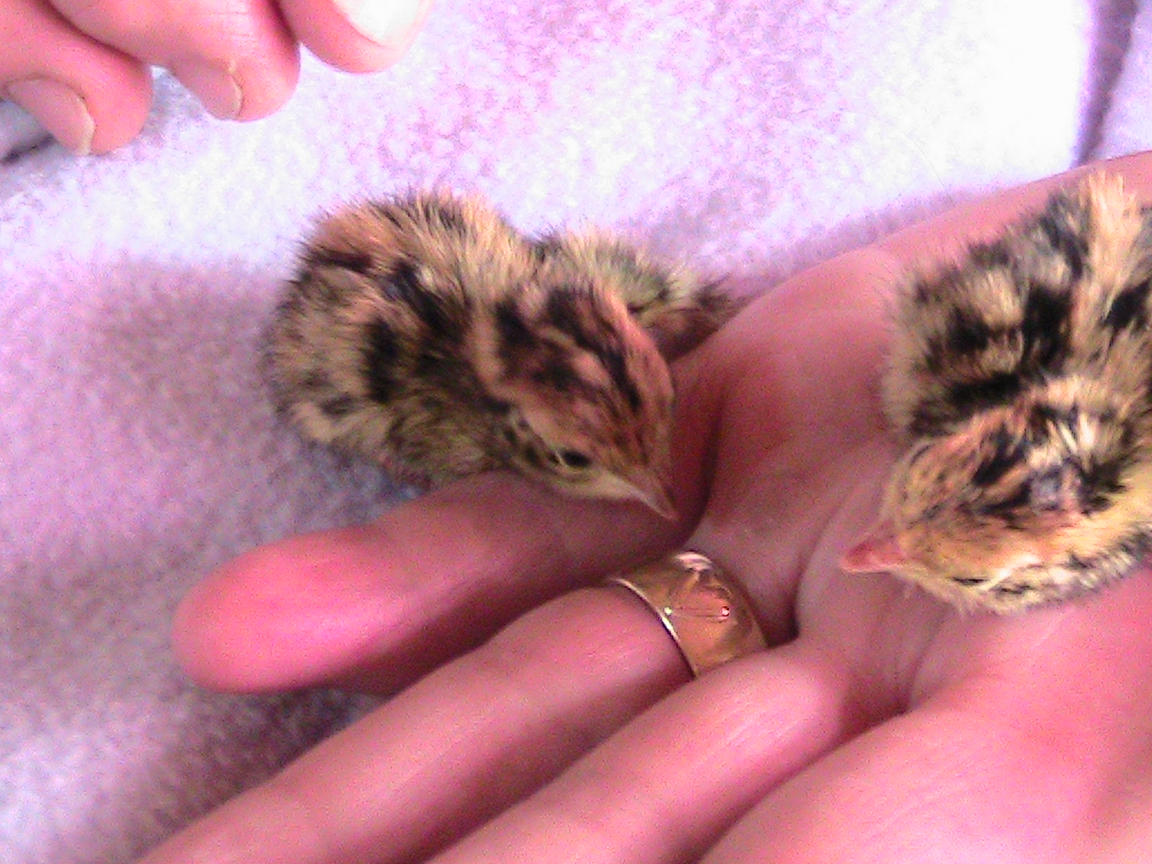
Quail babies make newborn chickens look big.
Meanwhile . . . there are numerous plants that woke up from the winter and can now provide a sizeable part of our evening meals.
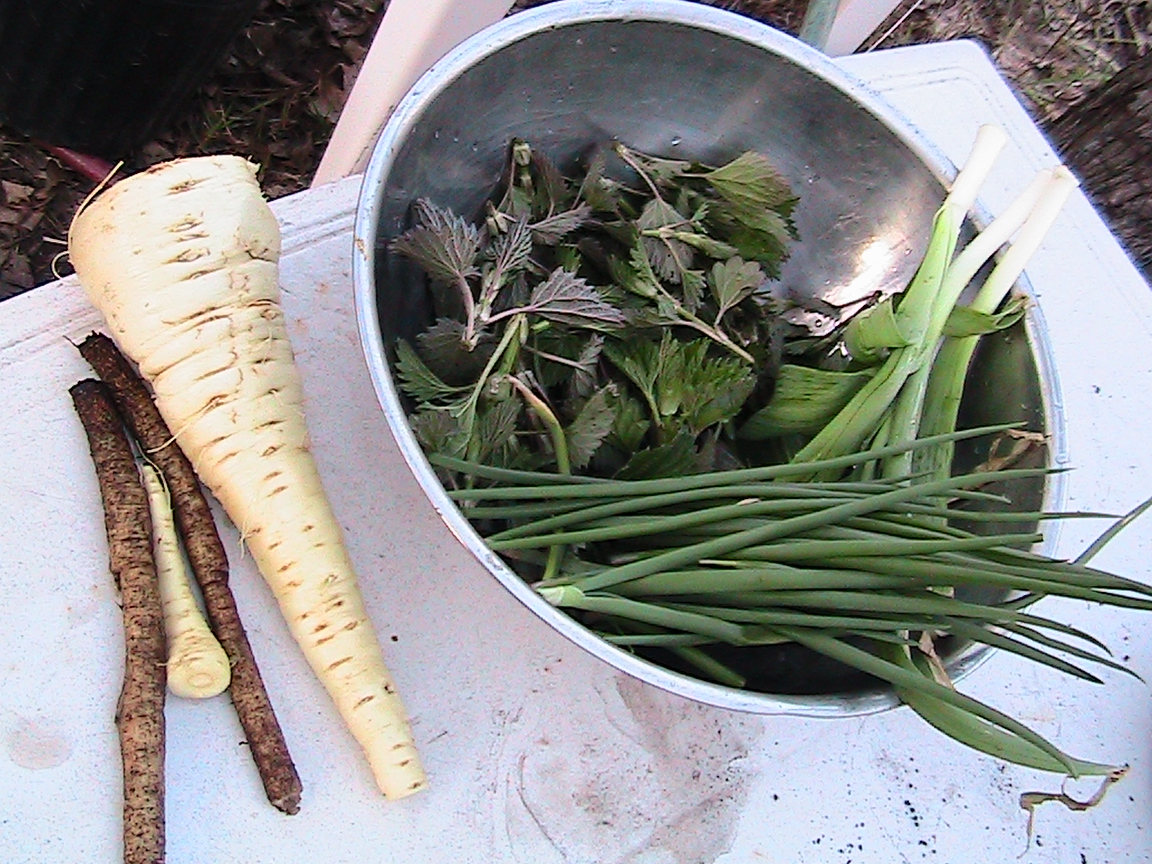
In the bowl, onions, garlic and nettle. On the left are burdock root and parsnips. While some carrots come through the cold and make good eating. (We ate them all before I thought to picture them.) Almost all parsnips weather the cold without any damage.
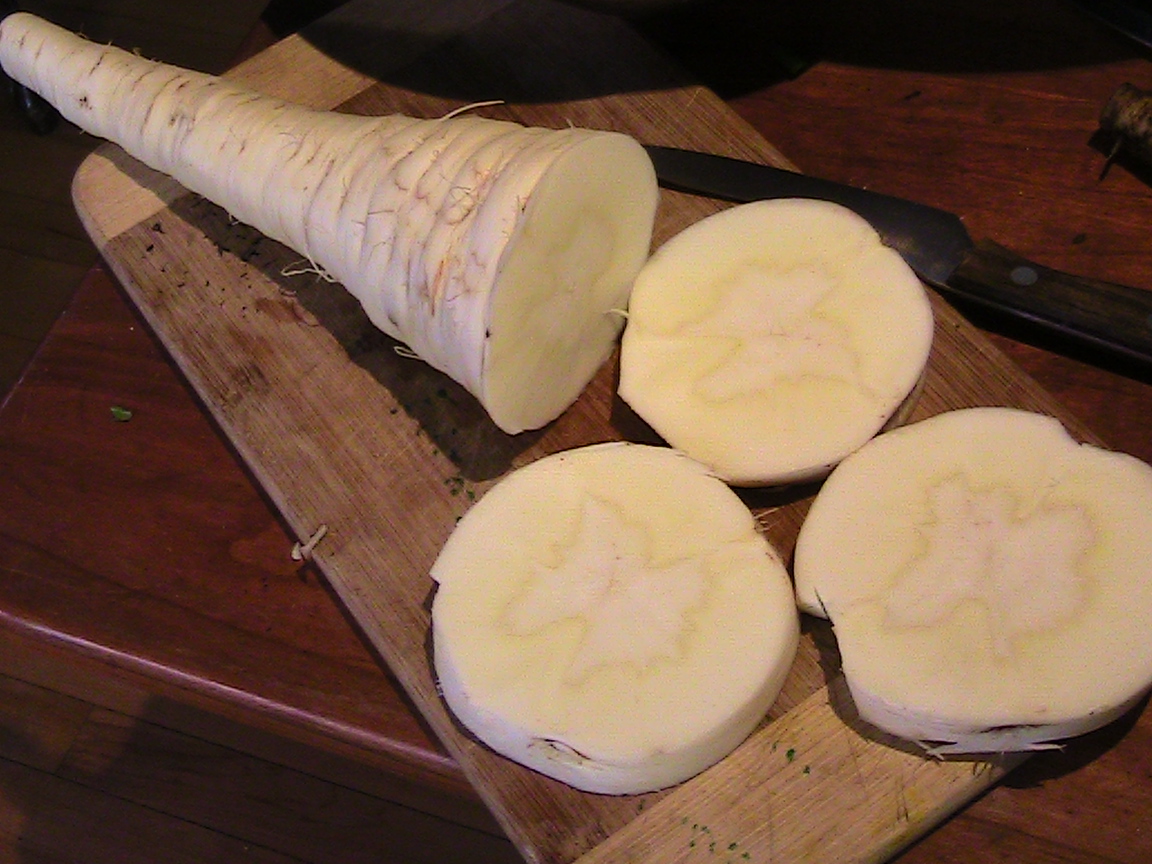
It is all solid and a great gift from farmers past. In the world before supermarkets, fresh food after a long winter would be cause for celebration.
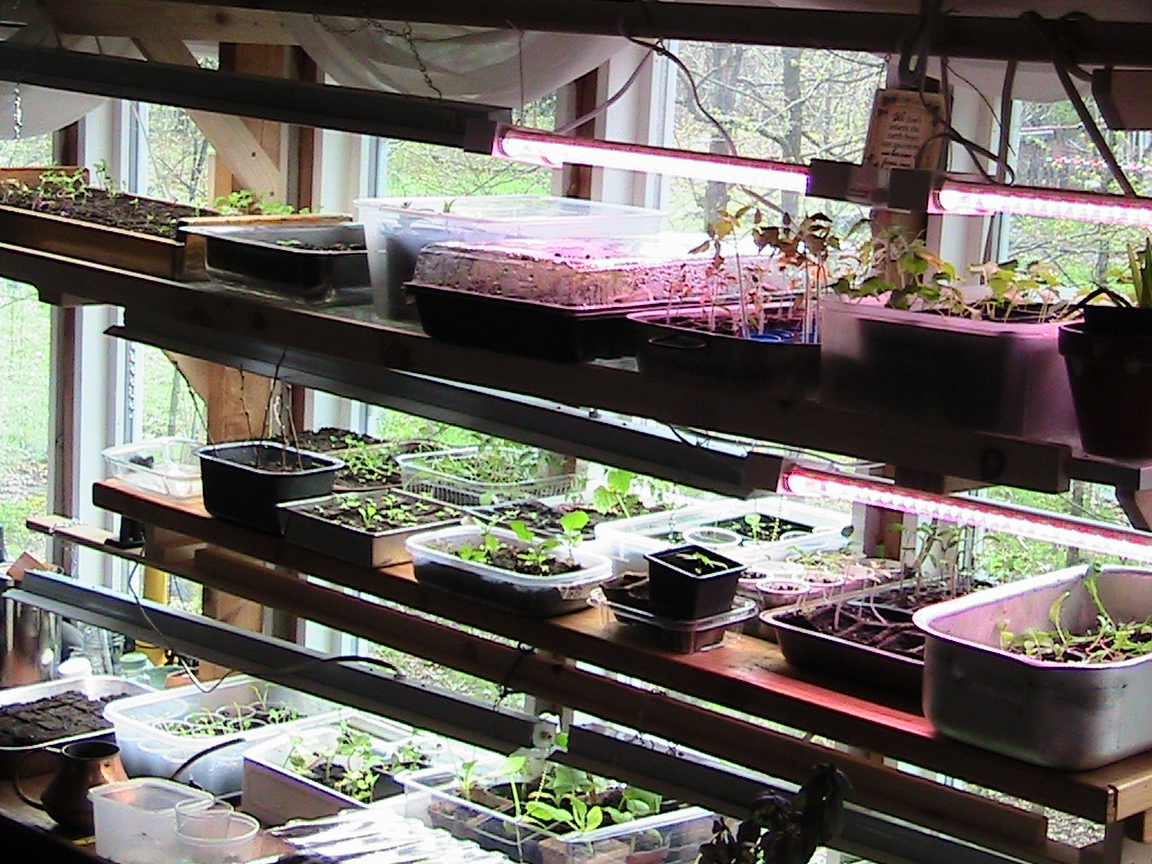
Besides opening up beds and transplanting perennials, most of our gardening efforts have been going into starting seedlings.
Years ago, good friend Randi introduced us to the soil blocker.
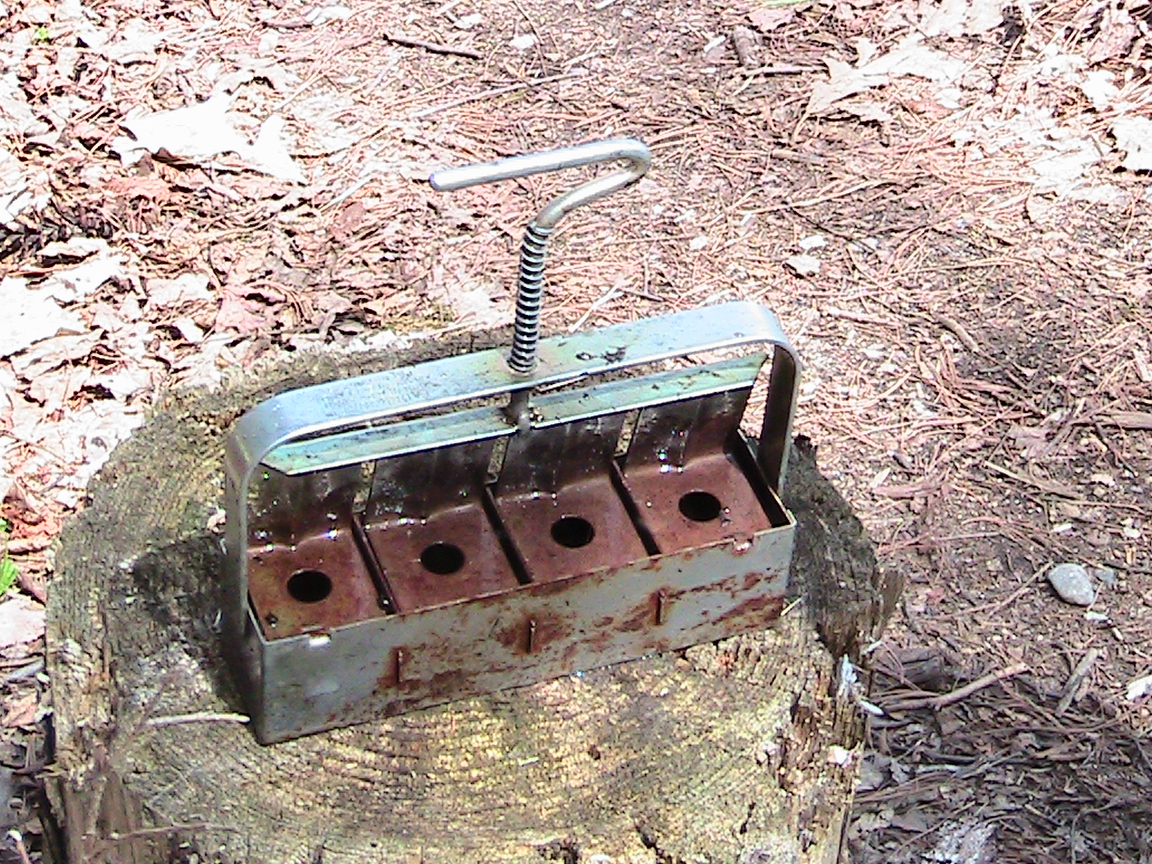
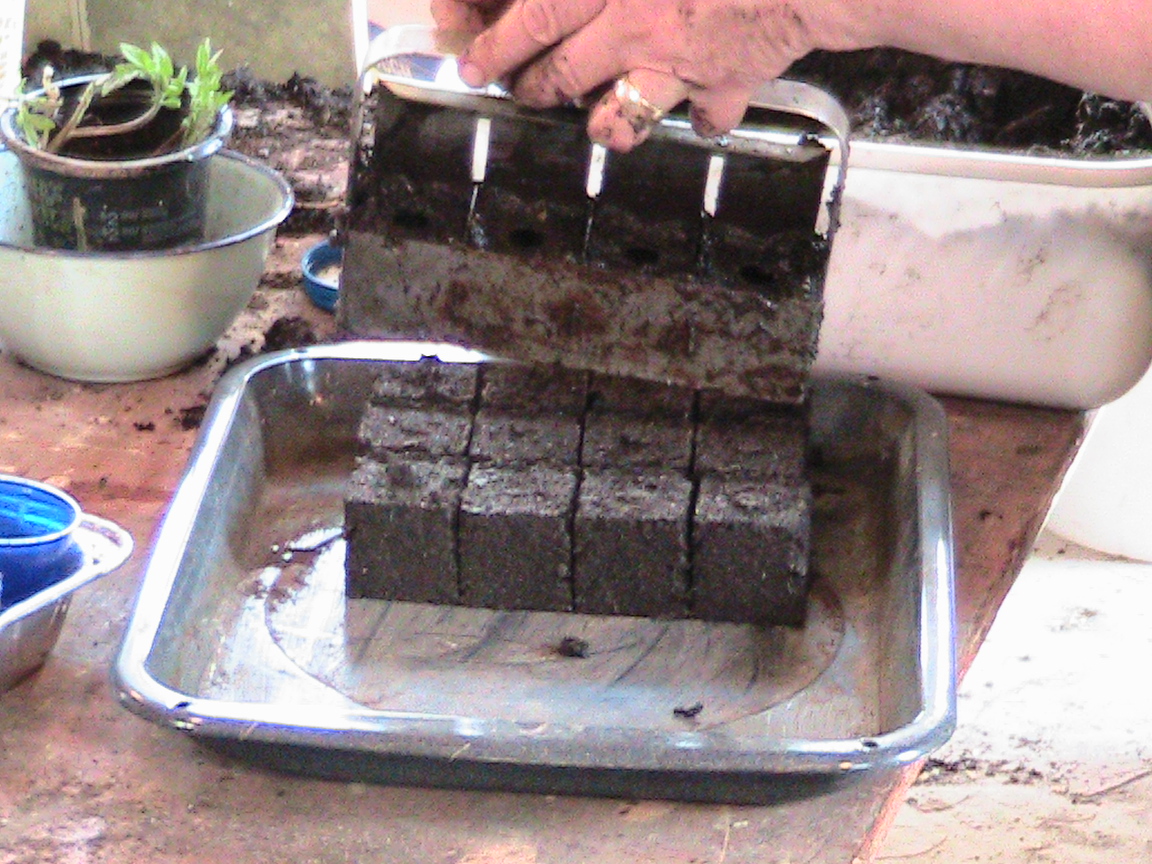
It is a little weathered after 20 years or so (mostly because I forgot to rinse it off a couple of times after use). Nevertheless, it reliably makes two inch cubes of a soil, peat-moss, compost and sand medium that we we mix up in Fall anticipation.
We start the seeds on wet paper towel, on trays, which we keep in plastic bags so that they don't dry out.
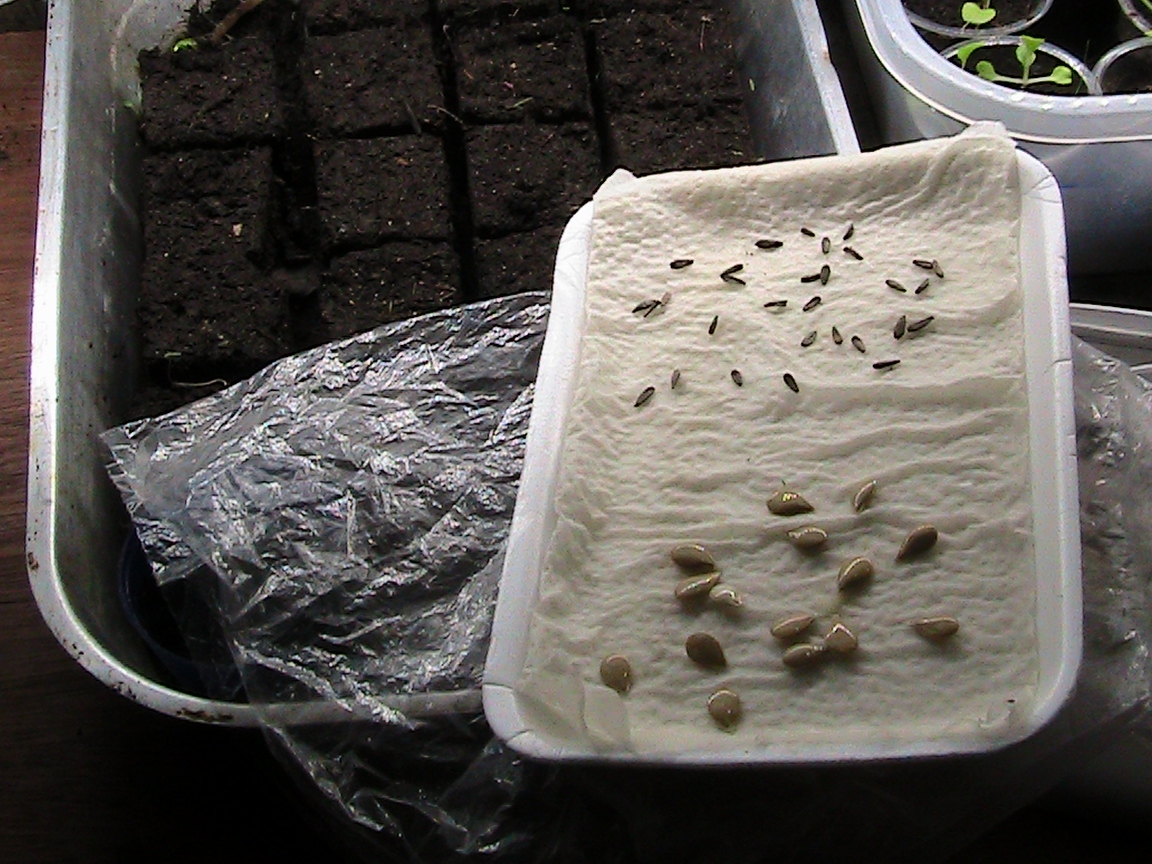
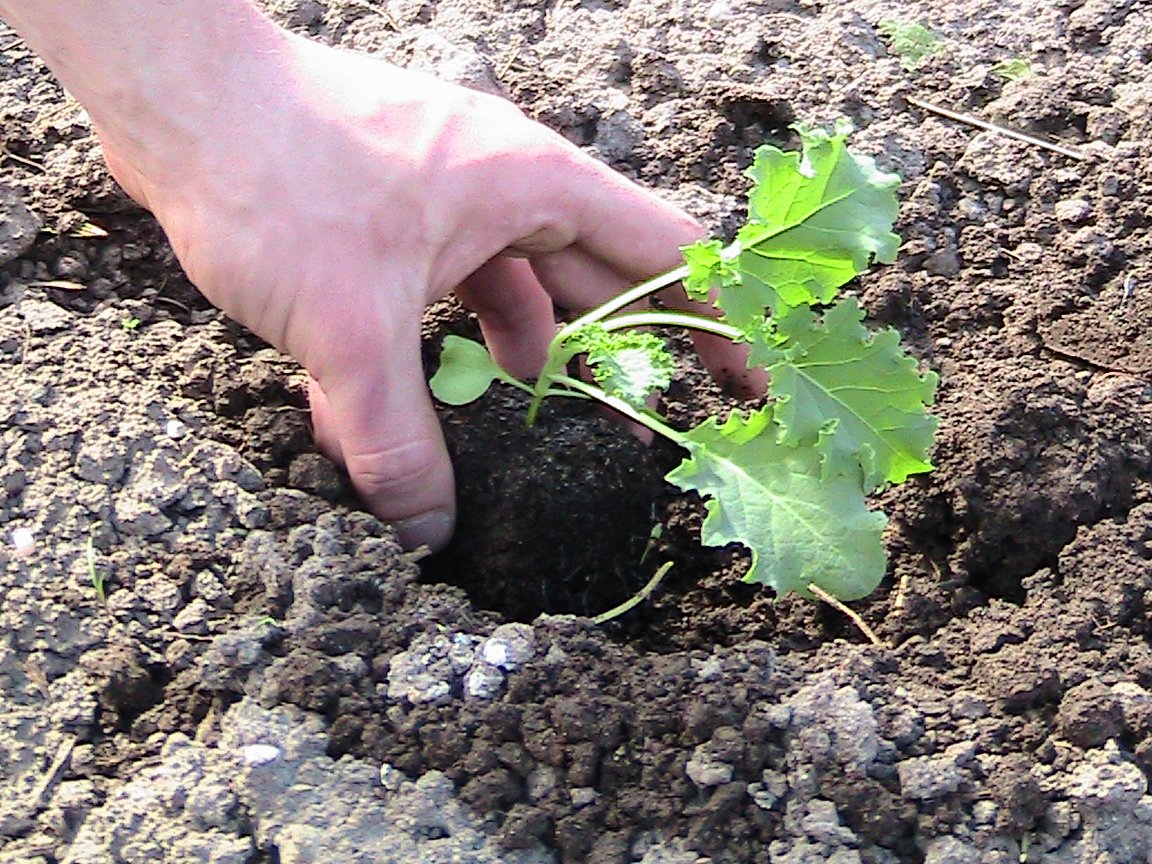
When a root appears, proving that the seed is alive, we plant one into the top of each block.
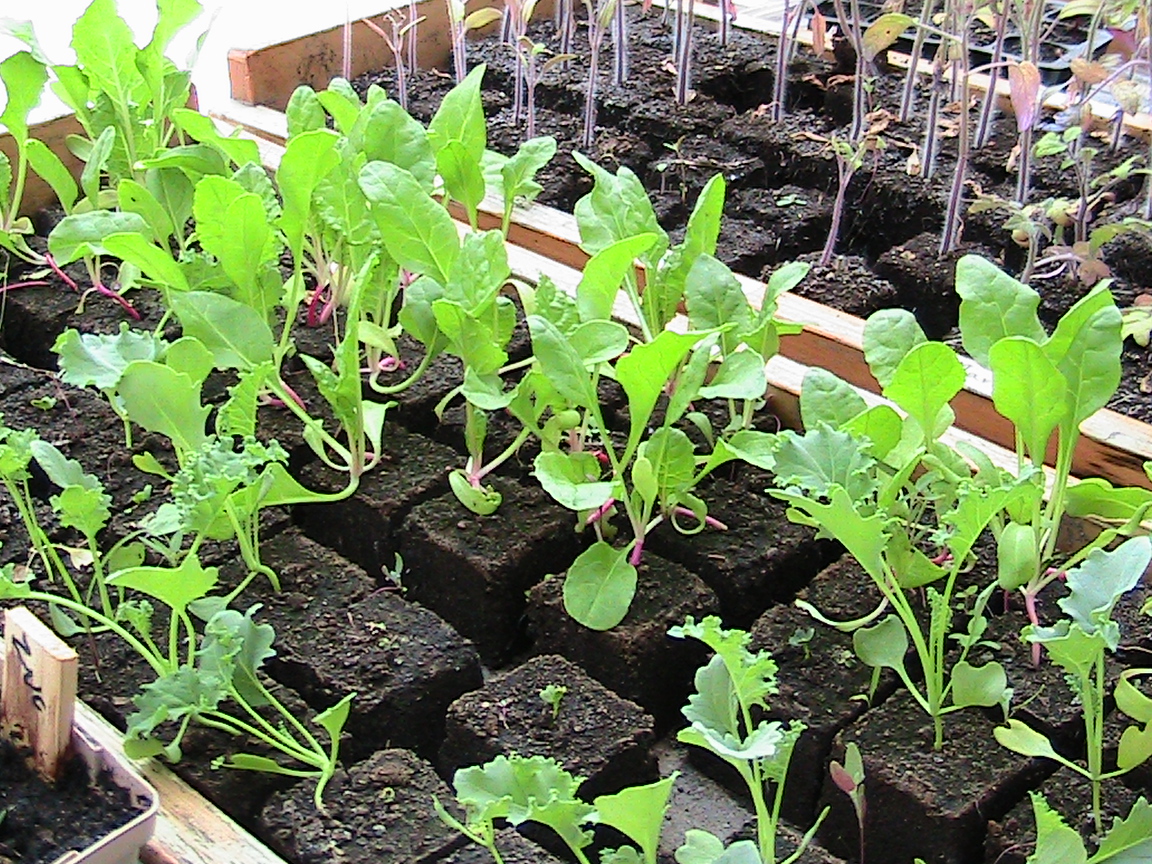
The blocks shrink a bit after they are made allowing water to flow between them when watering. The space also tends to keep root growth within the block. When they are planted out there is almost no root disturbance.
Lots more seedlings await the end of frosts on our extended window sills.
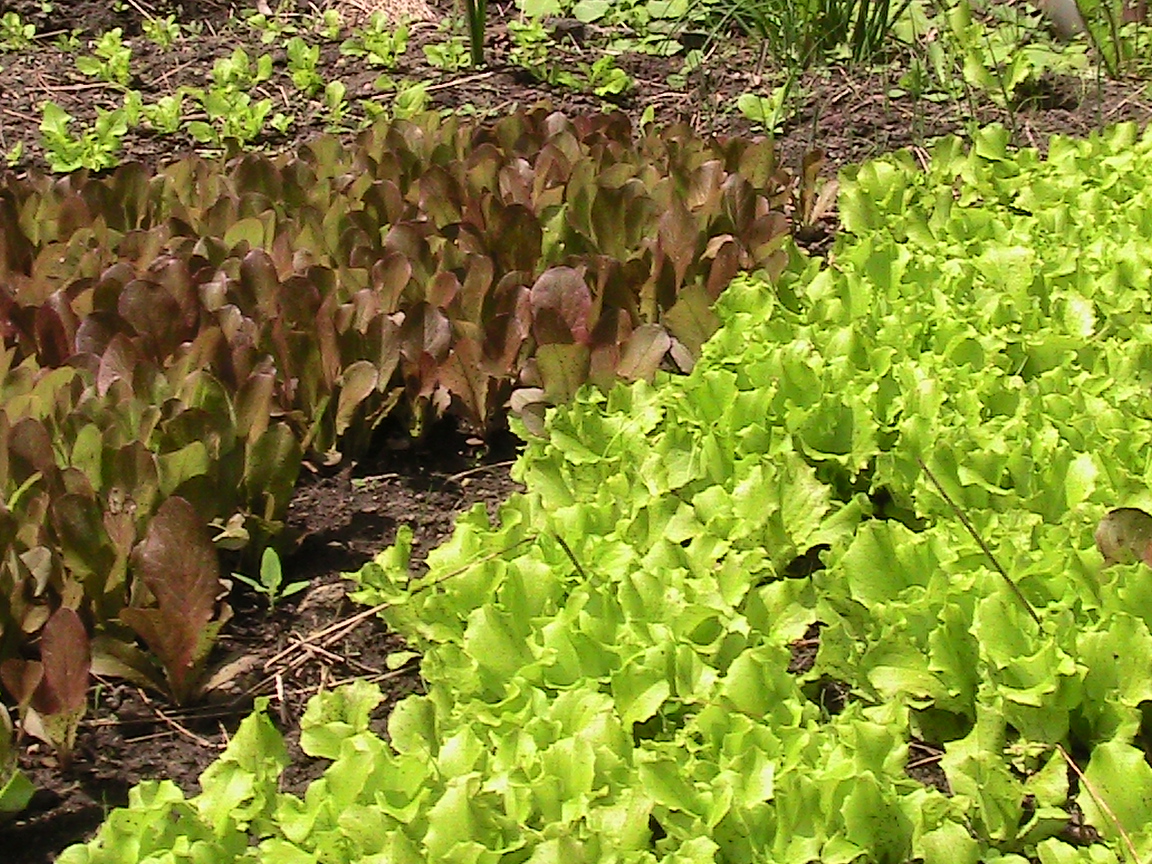
Lettuce can be planted as soon as the ground is thawed. This is our Spring patch just before we harvested our first salad.
Grafting
Several days were spent this Spring grafting apple trees. (And a few pear branches onto Hawthorn bushes.) I should have taken pictures. Nothing to show now but stretched black tape tightly holding branches and buds into place.
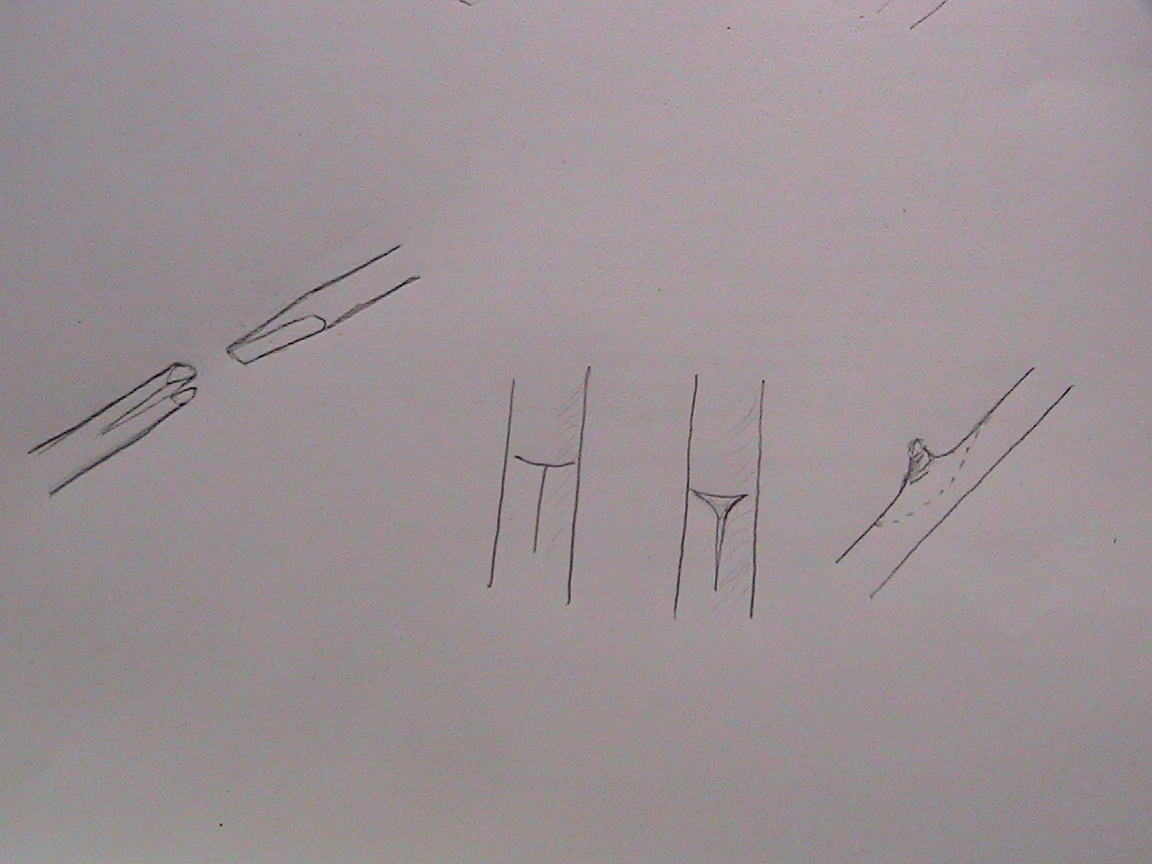
Grafting is done in the Spring, as soon as possible after enough sap is flowing for the bark to peal cleanly away from the wood.
To make a graft, select a branch from your tree that is about the same diameter as the cutting (scion) from a tree who's fruit you like. Cut off the tree branch at that point, then cut into it horizontally an inch or so down through the centre. Make a wedge at the end of the scion. (See the diagram on the left.) The straighter the edges of the wedge, the more contact there will be between the living layer (cambiun) of the two parts. (Only the cambiun cells, between the bark and the wood, is growing.) The more cambium contact, the more likely the two parts will grow together and the graft succeed.
If all goes well, the cambium of the two parts grow together, sap flows into the buds from your favorite tree and it grows out to produce the fruit you like.
Once the wedge is pressed down into the cut, and the edges lined up as well as possible, I wrap the joint with electrical tape, with a thin layer of plastic between the tape and the bark (I don't know if there are any harmful chemicals in the tape.) Electrical tape stretches tight, increasing the amount of contact between the living parts. I found that a rubber band was needed to keep the black tape from unraveling with the weather.
As the grafted branch grows, keep an eye out for the tight tape chocking growth. A couple of years back, well into the Summer, I noticed that the tape looked tight. I was relieved, as I imagine the branch was, when the tape and the pressure were removed. By that time, the parts of the graft were grown together strong enough to stay together without support.
Bud Grafts
This year I tried my first bud grafts. By grafting a single bud onto the lower part of a sapling tree, one can grow an entire tree of the variety the bud was cut from.
To graft a bud, cut a T into the bark of the root stock. (See right-hand drawings above.) Carefully pry the bark free of the wood, opening a place for the bud. Work with clean hands and be careful not to touch the cambium layer. Oil from fingers on can inhibit sap flow. Cut off a single bud, as shown above, taking as much bark and cambium as practical, then slip it into the opened space in the bark.
The last step is to wrap the graft, all but the bud, with tape of some sort to hold the live materials close together. I've recently received a lead for a more benign tape for compressing the graft. This year I again used electrical tape with a thin layer of plastic to protect the live wood from any possible chemicals in the electrical tape.
After the parts of the graft grow together, the bud will grow into a branch. After the bud has grown into a substantial branch (one or two years) other growth from the sapling can be pruned away leaving only the grafted wood to grow into an entire tree.
That is all for now. Perhaps we will see you as the year unfolds.